

Looking for Forspoken cheats on PS5 & PC? Here we’ll list Forspoken cheat codes and unlockables with tips for Luminous Productions (Final Fantasy XV) & Square Enix’s new action-RPG game.
Here we will show you how to unlock all Forspoken codes with a cheats list that’s valid for the PC & PS5 versions (where available).
Take a look at the cheats below…
Table of contents
Other Forspoken Pages:
- This Page: Forspoken Cheats
- Next Page: Forspoken Collectibles
- Next Page: Forspoken Walkthrough Movie
Forspoken Cheats List
Forspoken God Mode Cheat
How to turn on the God Mode Cheat in Forspoken:
When playing Forspoken, go to the “Pause Menu”, go to “Setting”, select the “Gameplay Balance Menu” tab at the bottom, and in the “Difficulty Settings” go all the way down and turn on “Auto-Evasion”. When this is set to “ON,” you’ll automatically evade using magic parkour when attacked. Have fun, you cannot die anymore!
Forspoken How To Level Up Fast & Increase Items Drop Rate
How to level up fast in Forspoken:
Turn on God Mode as described above. This means you get 100% Invincibility, since you’re unable to die from enemy attacks due to you automatically avoiding all said attacks. In-game avoiding an attack gives you 100% perfect evades off every enemy attack for taking no damage in the battle.
This means God Mode can easily be used to level up, because how well you evade determines your grade score for how much EXP you get per battle. “Evade Attacks with Flow” is how these perfect evades are called, and they reward you with Experience Points (EXP) every time and determine how much higher your Drop Rate for Items gets.
Forspoken Codes
How to claim this Forspoken Covet Nails Code: CAMOBE-136-CUCUMU-021
- Visit https://sqex.to/register
- Log in or sign up to Square Enix Members
- Enter your code into the website
- Follow the instructions on screen
Note: Frey is able to freely change equipment at the start of the Chapter 3 quest “Her Father’s Findings.” So you cannot change your nails to these Covet Nails until then.
Forspoken Unlockable DLC Items
Forspoken Pre-order Bonus
Pre-order Bonus Free Items for All Editions:
Pre-purchase the Standard or Digital Deluxe Edition on PS5 to receive unique gear and items to aid you in your journey through Athia, including the:
- No Limits Cloak
- Symbol Combo Necklace
- Trigger Happy Nails
- Crafting Starter Kit
Pre-purchase the Standard or Digital Deluxe Edition on PC to receive different unique gear and items to aid you in your journey through Athia, including the:
- Elite Cloak
- Spectra Combo Necklace
- Overclock Nails
Note: There is a possibility that the incentives will be made available for purchase at a later date after the game’s January 24th, 2023 launch.
Forspoken Special Edition Differences & Extras
Digital Deluxe Edition Bonus Items on PS5 & PC:
- Forspoken Mini Artbook (Digital Download)
- Forspoken Mini Soundtrack (Digital Download)
- Prequel Story DLC ‘Forspoken: In Tanta We Trust’ (Release date: Summer 2023)
- Prequel Story DLC Early Access
- Rare Resource Kit (PS5-exclusive)
Forspoken How To Pet the Unicorn Cat
Can You Pet the Unicorn Cat in Forspoken?: Yes. First, befriend the unicorn cat called Saglan in Forspoken nearby the stone flying cat monument, by completing its “Tanta’s Familiar Monument” sidequest by sneaking up to him to give him a good petting. Second, the cat familiar will appear at a safe house, after which you can pet and take a nap with your new companion.
Unicorn Cat Location:
Unicorn Cat Petting:
Forspoken Unlockable How To Unlock Smoother Parkour & Setting Improvements
Find out how to make the game and gameplay run smoother: To get to the settings menu you just press the OPTIONS button then SETTINGS while in-game. (A guide by Gradieus) You’ll see you can R1 for different tabs of settings so let’s start with:
DIFFICULTY SETTINGS
___________________________________________
DIFFICULTY: NORMAL
I love playing games on HARD, the better the challenge the better the game. This is not one of those games. This game is about speed and having a go go go attitude. The difficulty bump does nothing but slow down the pace you want to try and keep up. The enemies have increased HP, but they’re not faster or smarter, and you’ll rarely get hit so the increased damage is negligible. Why fight 2 crocs in 1 location when you could fight 6 crocs total in 3 different locations in the same amount of time?
AIM ASSIST: ON
If you’re using a controller every game should have Aim Assist ON, it’s just simpler.
SPELL-SWITCHING SLOWDOWN: DEFAULT (SLOW)
You could FULL STOP, but graphically it’s nicer that the background is slowly flowing.
DAMAGE RECEIVED: DEFAULT
You won’t get hit much due to later settings so this isn’t a factor.
STAMINA RECOVERY SPEED: FAST
This is a game of max speed, but FAST is fast enough that you never have to worry about stamina recovery. You could go FASTEST, but you won’t notice it while playing.
AUTOMATICALLY USE HEALING ITEMS: OFF (with caveat)
Unfortunately, the game’s HP bar is fish bowled and it’s not readily apparent you’re even low health sometimes. This is particularly noticeable against the final enemy in the demo who hits harder than anything else, and if you’re at half health it can one shot you before you even realize you were hurt to begin with. However, if you have it ON you’re more likely to unknowingly waste heals versus scrubs when you didn’t have to use them in the first place. So for regular fights OFF, for the biggest fight ON if you’re so inclined.
ENEMY KNOCKDOWN TIME: DEFAULT
Game’s easy enough as is, if you knock down 3 enemies at the same time you got to go go go to get them all in time. Increased KO time can also be an upgrade stat on jewelry so better to upgrade it there instead.
AUTOMATIC SUPPORT SPELL-SWITCHING: OFF (with caveat)
This is the big one for this section, and one you should definitely try ON and OFF to see which you like more.
R2 spells are designed for either long-range/group of mobs/short range. So you’d still open the R1 spell wheel to choose which attack you want for the specific enemy you’re facing.
L2 is your support spells. These are the spells that do added damage and different buffs, etc. It largely doesn’t matter what the support spell is, so if it’s not on cooldown, use it.
Toggling ON means L2 will always have a support spell ready when available. You use the spell on L2 and it’ll automatically change to another support spell that’s usable. Once you use all your support spells it’ll switch to a usable spell once the current cooldown is gone, rinse repeat.
The benefit is that you don’t have to go through the spell wheel to check which spells if any are still on cooldown and you don’t have to keep switching to use them.
The bad part is that maybe you don’t want to use a specific support spell when it switches automatically, although they should be used as often as possible + if you don’t want to use something you can still hold L1 to spell wheel to something else.
All in all it helps people who find the spells a bit clunky. You do have to memorize what the symbols or name of the spells are though since you might try to do a kick spell (close range spell) at long range if you’re just spamming.
In this regard it’ll add creativity to the game because when you see a long range support spell is next you might back up, then see it’s a kick spell after that you push in, etc. The game will dictate the flow for you, thus removing the clunkyness of deciding what to do next. However, if you’re like me and you like charging and kicking spells more than summoning allies and swords, keep it OFF, otherwise you won’t see those spells for a while.
Edit: I made a video demonstrating what it looks like while it’s ON just to give an idea of the possibilities:
AUTO-EVASION: OFF
You’ll be able to see enemy attacks coming a mile away due to further settings so this isn’t necessary.
CONTROL SETTINGS
___________________________________________
CONFIRM BUTTON: X
LEFT/RIGHT STICK SENSITIVITY: 1.2
You want to go fast, you want to parkour, spin, snipe, flip all over all at once? Increase the stick sensitivity. Personally I liked it at 1.2, but I could see others going as high as 1.4.
CAMERA SETTINGS
___________________________________________
HORIZONTAL CAMERA MOVEMENT: NORMAL
VERTICAL CAMERA MOVEMENT: NORMAL
ROTATION SPEED: 1.2
Keep it the same as the stick sensitivity. If 1.4 stick sensitivity then 1.4 rotation speed.
AUTOMATIC CAMERA ADJUSTMENT: ALWAYS
You want to go fast, and the only way to go fast is to see where you’re going. Keep it on ALWAYS so the action is ahead of you.
CAMERA SHAKE: ON
It’s supposed to be an action game.
VIBRATION SETTINGS
___________________________________________
WIRELESS CONTROLLER VIBRATION: ON
TRIGGER EFFECT INTENSITY: HIGH
LANGUAGE SETTINGS
___________________________________________
TEXT LANGUAGE: ENGLISH (or whatever you prefer)
VOICE LANGUAGE: ENGLISH (or whatever you prefer. I played Ghost of Tsushima with Japanese voice language, but not necessary here.)
DISPLAY SETTINGS
___________________________________________
IMAGE QUALITY SETTINGS: PERFORMANCE-FOCUSED
If you don’t have VRR then this option isn’t up for debate, if you do have VRR then play around with what you think is best.
UI BRIGHTNESS (HDR): 0.7
The game is a bit washed out no matter what you do. Lowering the brightness does help, but choosing the right number for you will depend on your TV settings.
BRIGHTNESS: 0.8
Again, lowering the brightness helps.
GAMMA SETTINGS: 1.1
To off-set some of the lower brightness increase the gamma.
120 HZ DISPLAY MODE: OFF (ON if you have it)
MOTION BLUR: OFF
In Witcher 3 settings guide I said to keep it ON, but motion blur is game dependent and Forspoken is washed out by default. Having this OFF will actually make the game feel a bit clearer.
COLOR FILTER OPTIONS: OFF (Unless you’re color blind)
FILTER STRENGTH: 1.0
WORLD SETTINGS
___________________________________________
AUTOMATIC ITEM GATHERING: ON
This is a big one in terms of having a go go go attitude. Not only can you bust through 6 flowers or 6 rocks and collect all the items without slowing down, but you’ll also get the vast majority of item drops when killing enemies while in combat. When enemies die, those that drop items will be automatically picked up by you due to your proximity in melee combat, but not for those you’re long-range killing. I’d still recommend pressing UP on the D-PAD to access the cuff compass to see if there’s any remaining items you missed when fighting rarer enemies.
AUTOMATIC LOCK-PICKING: OFF (with caveat)
The game should tell you how many moves to solve, but it doesn’t. Usually it’s 3 moves max, but people who start randomly moving the pieces will take forever to solve without resetting the puzzle. If you’re one of those people then turn it ON, otherwise keep it OFF.
ITEM VISIBILITY: ENHANCED VISIBILITY
This will make it so that plants, rocks, and chests will flash white. Since your goal is to bum rush over everything collectible as fast as possible flashing white is a good thing.
MAP ICON SIZE: STANDARD.
You could make it larger if you really had to, but larger is overly large IMO.
HIGHLIGHT NEARBY CHARACTERS: OFF
This will make it so that enemies and NPCs flash white. Too distracting in combat to have it ON and takes away from the gameplay seeing 50 enemies flashing at the same time.
BATTLE-SETTINGS
___________________________________________
SPELL-SWITCHING MENU DISPLAY: HOLD
If you’re using SPELL-SWITCHING SLOWDOWN: DEFAULT (SLOW) in the DIFFICULTY SETTINGS, then keep this on HOLD. If you’re using FULL STOP, then TRIGGER instead of HOLD felt better.
MAGIC PARKOUR SPRINTING: DEFAULT
LEAP/SOAR CONTROLS: DEFAULT
I did like having it set to AUTOMATIC, but at times I felt it wasn’t doing exactly as I wanted it to do, particularly if you’re looking to set up a grapple hook onto a brown crystal from an angle underneath it. So for free-flow purposes I recommend DEFAULT.
SPRINT BUTTON: N/A
CUFF SETTINGS
___________________________________________
CUFF COMPASS: ON
Use this after fights with rare enemies (Press UP on the D-PAD) so you can find rare loot you’d otherwise miss due to the white circle on the ground being so small. It has a large radius so it’s also good to use in rubble buildings to see all the chests on all the floors.
CUFF COMPASS VISIBILITY: ON
CUFF CHAT FREQUENCY: LOW
You knew this was coming. LOW has them talking about once every 6-8 minutes, more than enough to remind you that they exist and that their relationship at this point in the demo is begrudgingly forced upon each other. OFF is overkill IMO.
MENU SETTINGS
___________________________________________
HUD SIZE: MEDIUM
I actually liked the HP bar on HIGH, but the waypoints are way too big on HIGH that it’s not worth it. If you get hit more than I did maybe HIGH would be better to know when to heal, or you could just use the auto-heal setting.
HUD POSITION: DEFAULT
CORNER moves the HUD further along the fish bowl effect and the less you do that the better, so DEFAULT. If FLAT was an option I’d take that in a heartbeat.
BATTLE RANKING INFO. DISPLAY: BASIC
I’d even go so far as to turn it OFF once you’re consistently getting STAR rating all the time. The way the rating works is that it’s continuous in and out of fights. It doesn’t end just because a fight ends like in Devil May Cry. It only goes down when you get hit hard enough, so if you don’t get hit then no matter what you do you’ll have a STAR rating. If you do get hit then don’t get hit again and soon enough you’ll be back to STAR rating. Either way what you do skill/speed-wise has no bearing on your rating. Once you know this seeing the rating on-screen is pointless.
SPELLCRAFT CHALENGE DISPLAY: ON
This appears briefly post-fight to remind you what you have to do to level up your spells, good to leave it ON since it’s informative.
ATTACK HINT DISPLAY: ENHANCED VISIBILITY
Saved the best for last. This is what allows you to avoid getting hit. With this the red and blue attack icons by enemies will be so large you can’t miss them. For example, if the enemy’s head is 1 unit in length, the attack icons will be ~4 units in length, they’re massive.
Forspoken Tips and Tricks
What follows are some official Forspoken tips & tricks from the creators at Square Enix.
Match the Settings to your Playstyle
The game has several difficulty and performance settings that adjust aspects like display, controls and gameplay, so that you can tailor your journey to your playstyle.
For example, switch to Performance Mode for smoother gameplay, and adjust the difficulty upwards from Easy to give yourself more of a challenge.
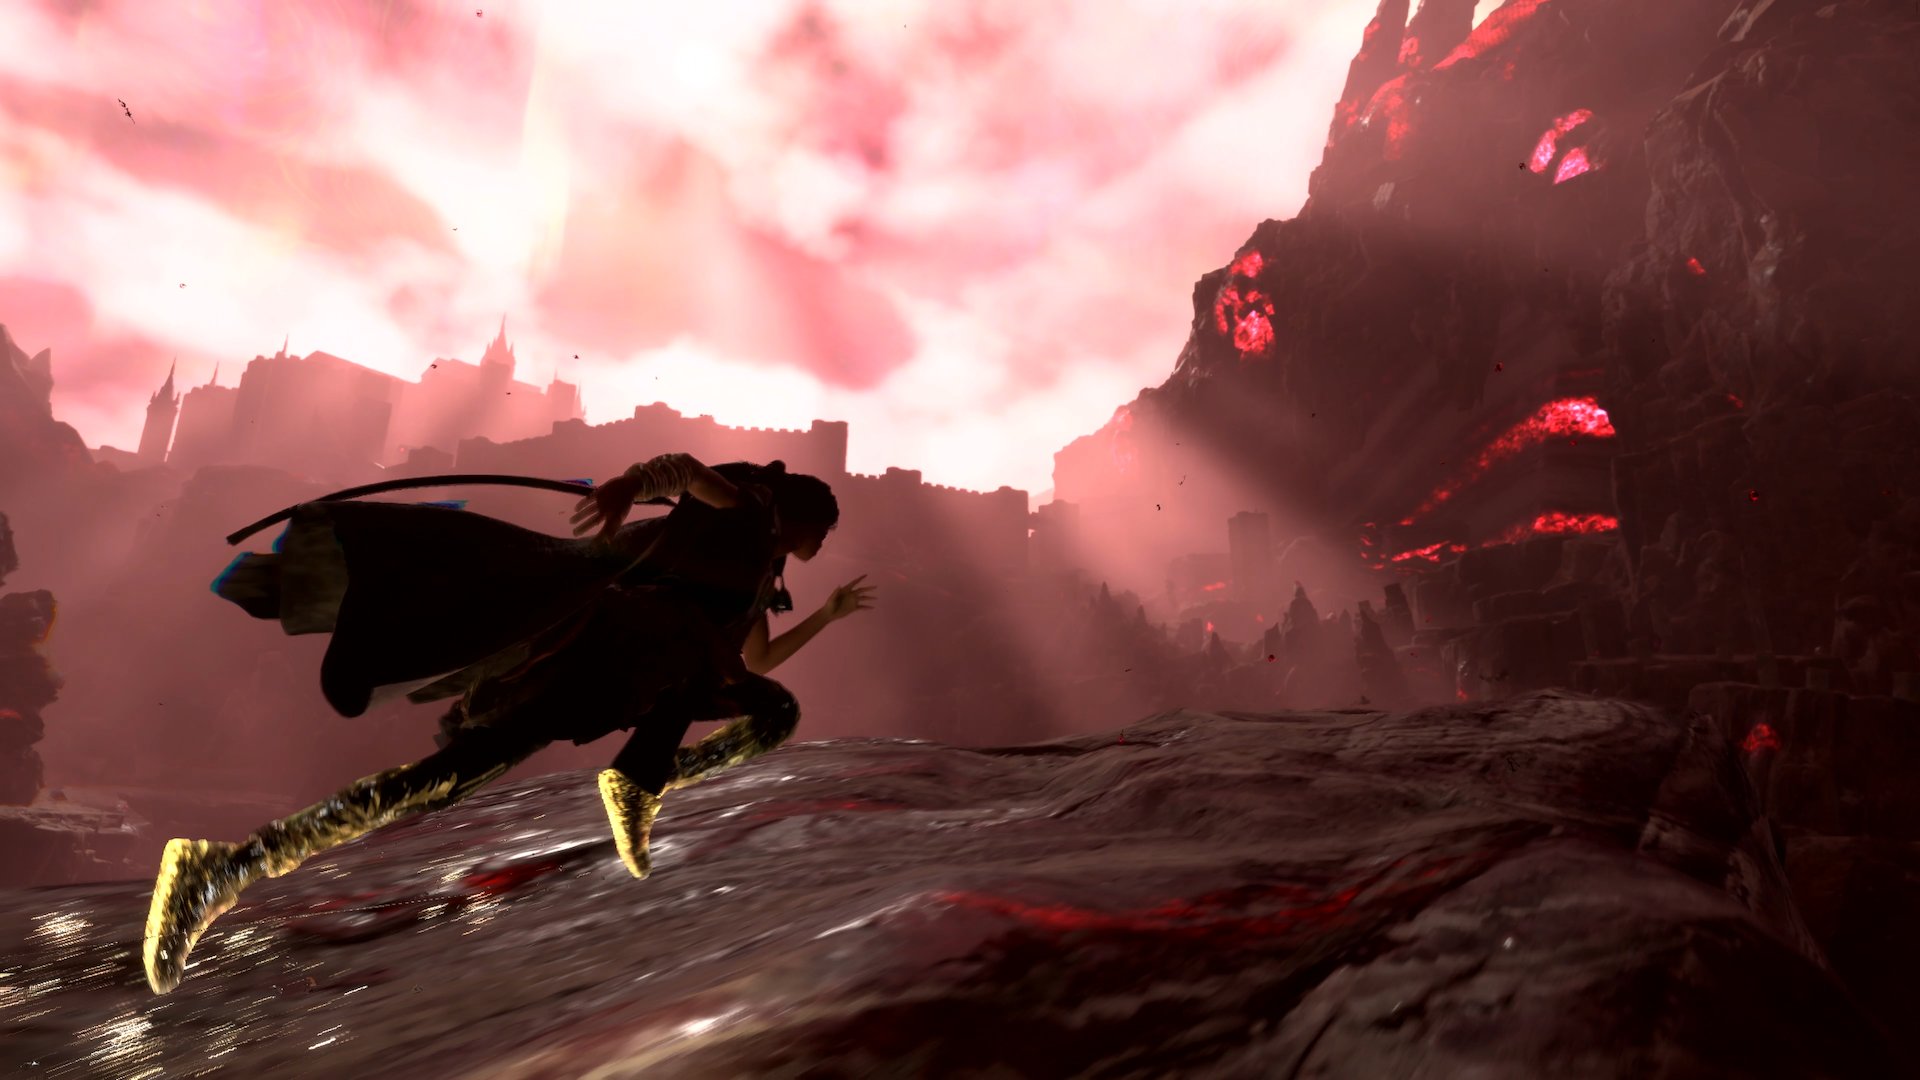
Chain parkour moves together
Holding the circle button activates ‘Flow’ – the foundation of your parkour. This lets you automatically hop over small obstacles and move around the world quickly. However, it also uses stamina and if you rely on this ability alone, Frey will get winded quite quickly.
Be sure to work in other parkour moves, such as Rush (press a button when Flames emanate from Frey), as they’ll refill her stamina. Remember – the better you chain together moves, the longer you’ll be able to go.
Also, it’s really fun.
-fe5jb8j64.jpg?quality=65&width=100%25&height=100%25)
Grapple to Reach New Heights
Frey’s Zip ability allows her to use magic to grab areas and pull herself toward them. The terrain of Athia also has many rocks that Frey can use to propel herself to new heights, so try using Zip on them to see what happens. They’re a great way to reach some of Athia’s hidden areas.
Tip: Hold the Square button on your controller and aim at grappling points to use Frey’s Zip ability to access hard to reach and hidden areas.

Use parkour in combat
Your parkour magic and combat magic work hand-in-hand so don’t just stand around like a statue in combat. Use your agility to dance around the battlefield, find better angles on your opponent and avoid their attacks.
What’s more, some spells change based on Frey’s movement – for example, jumping while using ‘Blast Slice’ will cause Frey to slam down with an awesome area of effect attack.
Swap magic quickly
Holding L1+R1 will let you switch between different magic sets, giving Frey access to a wide variety of spells. However, you can also cycle between them with left or right on the D-Pad or swiping on the touchpad – helpful if you want to switch quickly while in the heart of the action.
Swap magic to suit the scenario
Each of the combat spells in FORSPOKEN works differently and will help you out in different scenarios. Frey has all the tools she needs to control the battlefield – so if things start to feel chaotic, look at your tools, revise your strategy and put yourself back in charge.
For example, her purple magic is great at attacking enemies from a distance, but if a foe gets up in your face, it’s going to feel ineffective. In that case, switch to red magic, and use flaming swords and punches to teach them to respect your personal space!
Auto switch Support Spells
Frey’s has a vast arsenal of Support Spells to aid her in combat, but these require a cooldown. You can split these to autoswitch in the Gameplay Balance menu, meaning you’ll always have a spell ready to go when taking down Breakbeasts.
If you prefer greater control of your spell selection, you can bring up the Support Spell wheel with L1 and select manually.
Use Cuff to scan enemies and the world!
Press up on the D-Pad to use Cuff’s scanning ability. This is massively useful because not only will he highlight nearly materials to collect, he’ll also alert you to nearby enemies and highlight their strengths and weaknesses.
-fuc8nk6r0.jpg?quality=65&width=100%25&height=100%25)
Reduce the Chatter
Prefer to adventure alone? You can reduce the in-game conversation between Frey and Cuff to Default, Minimal or Low – limiting it to only dialogue that’s required to advance the story.
Note: This is a perfect addition for those of you who hated the banter between these two.
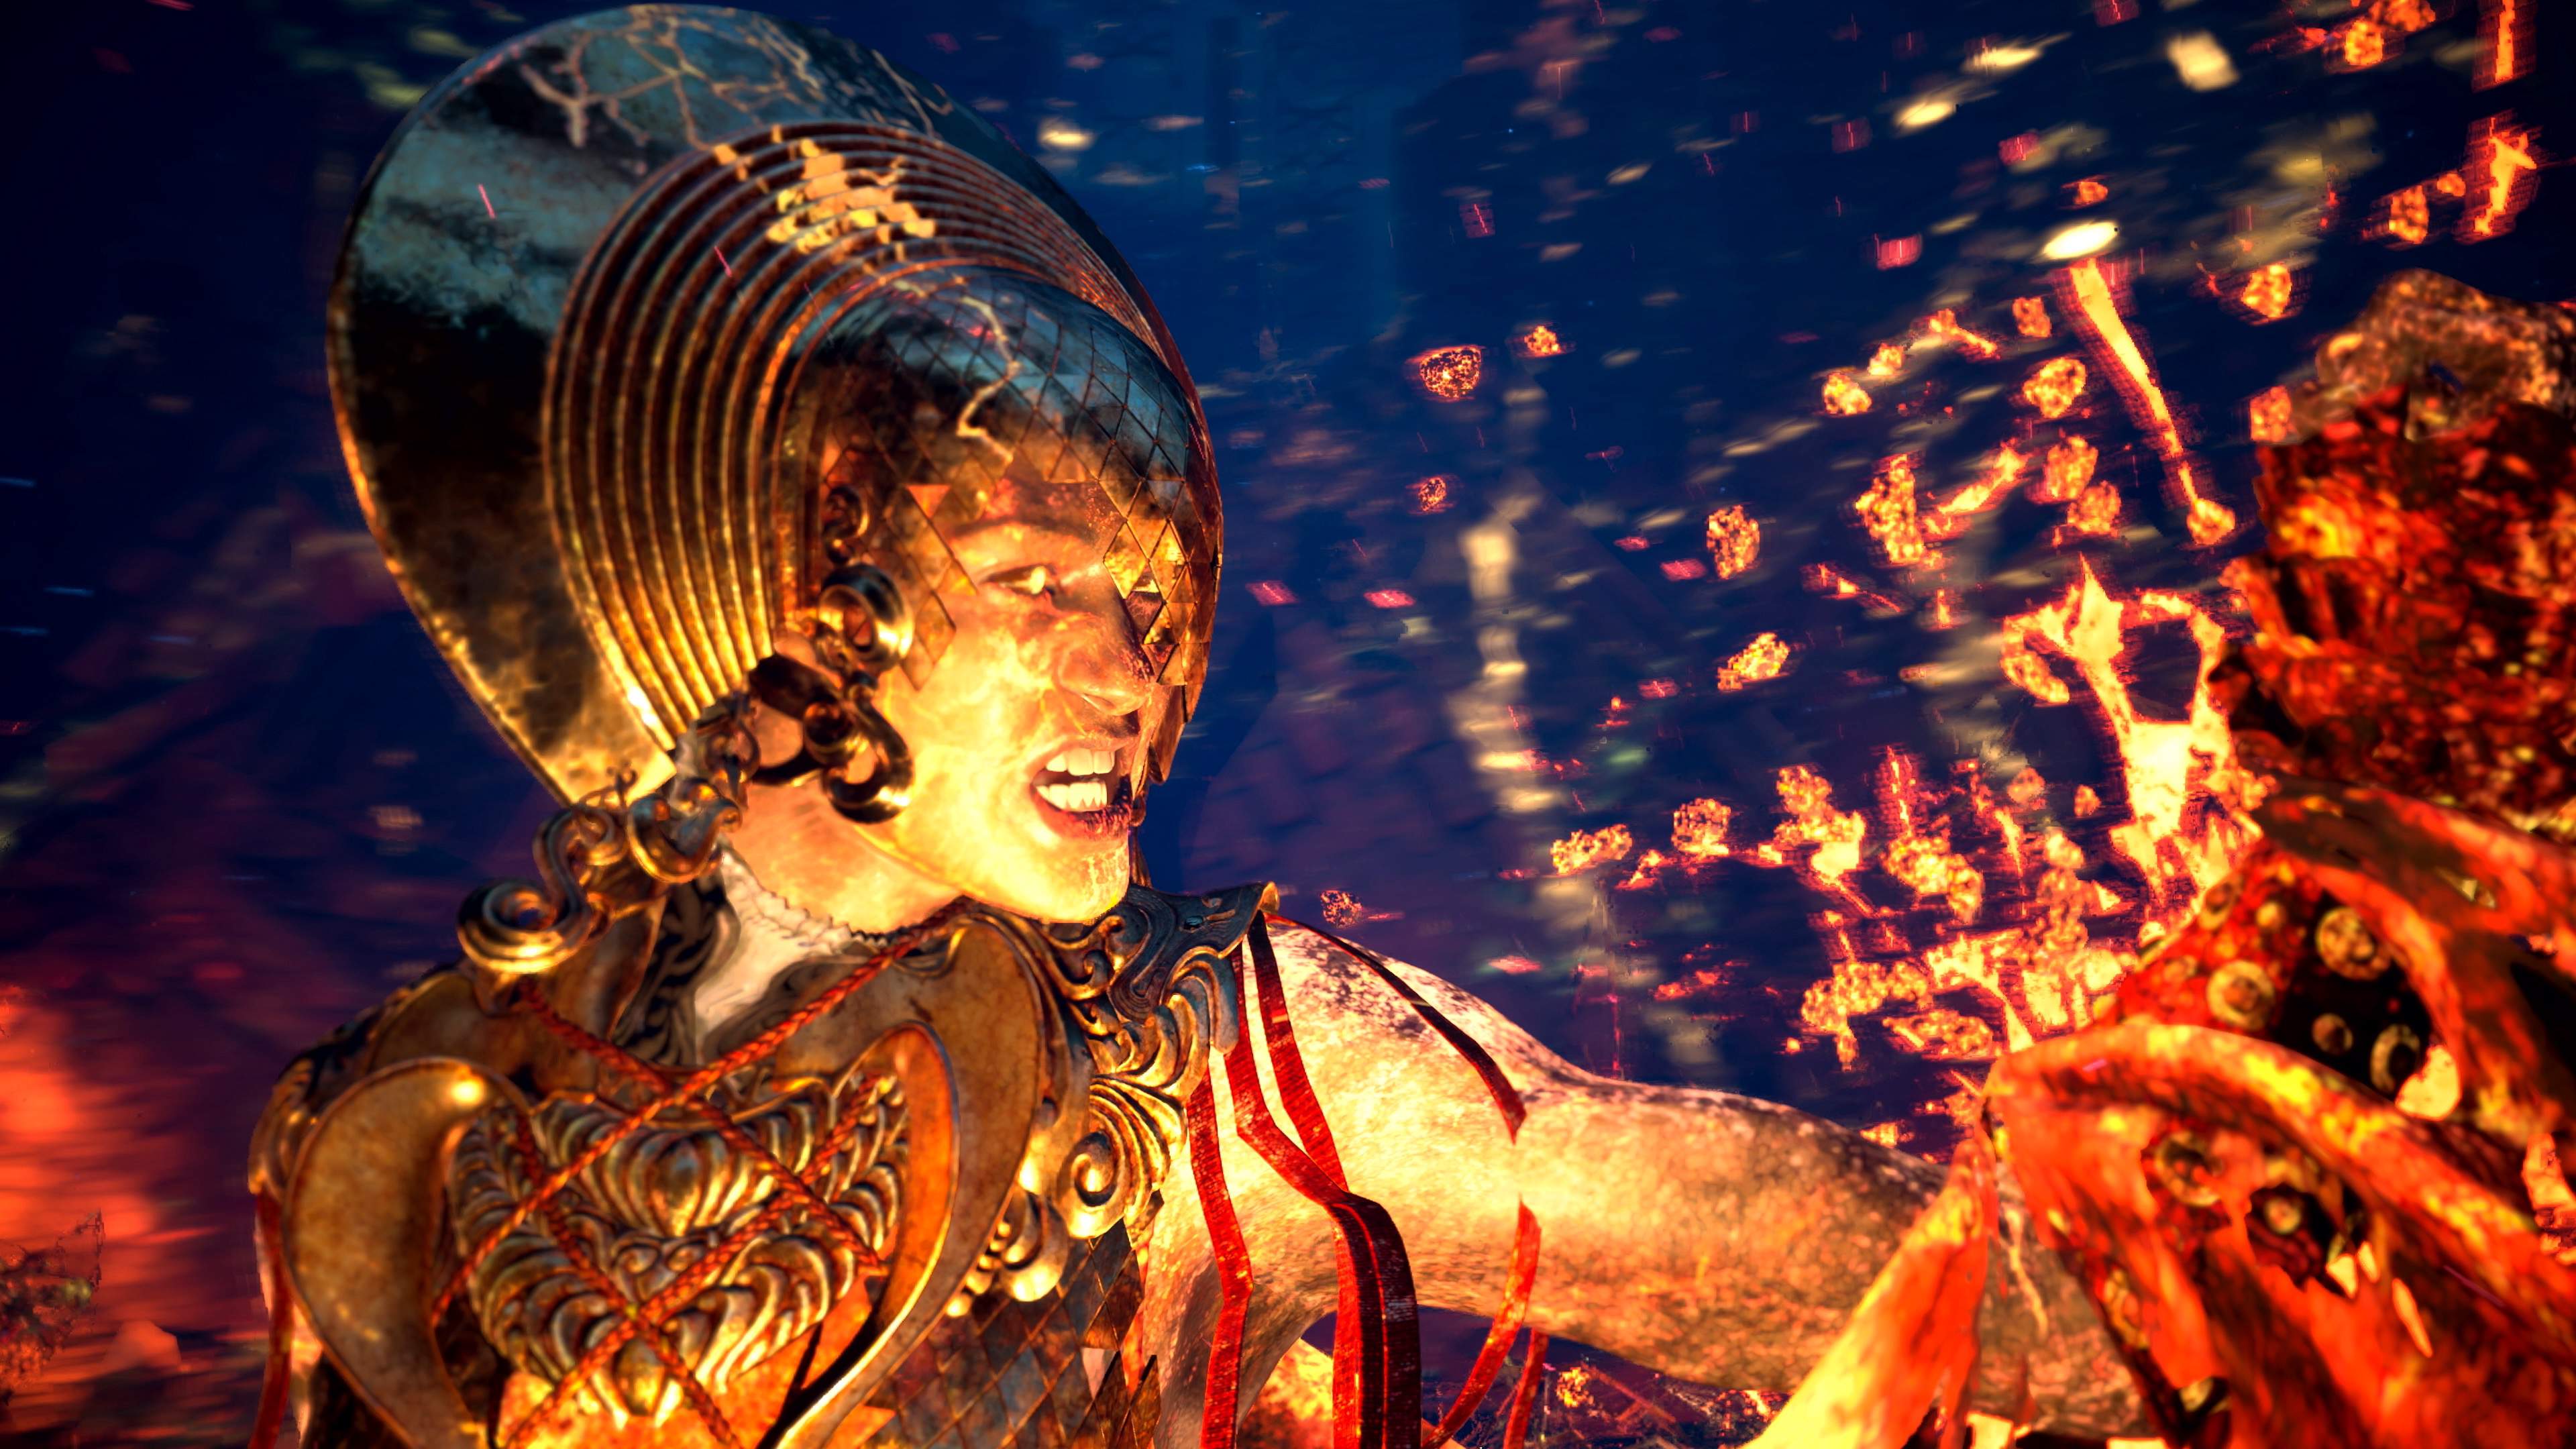
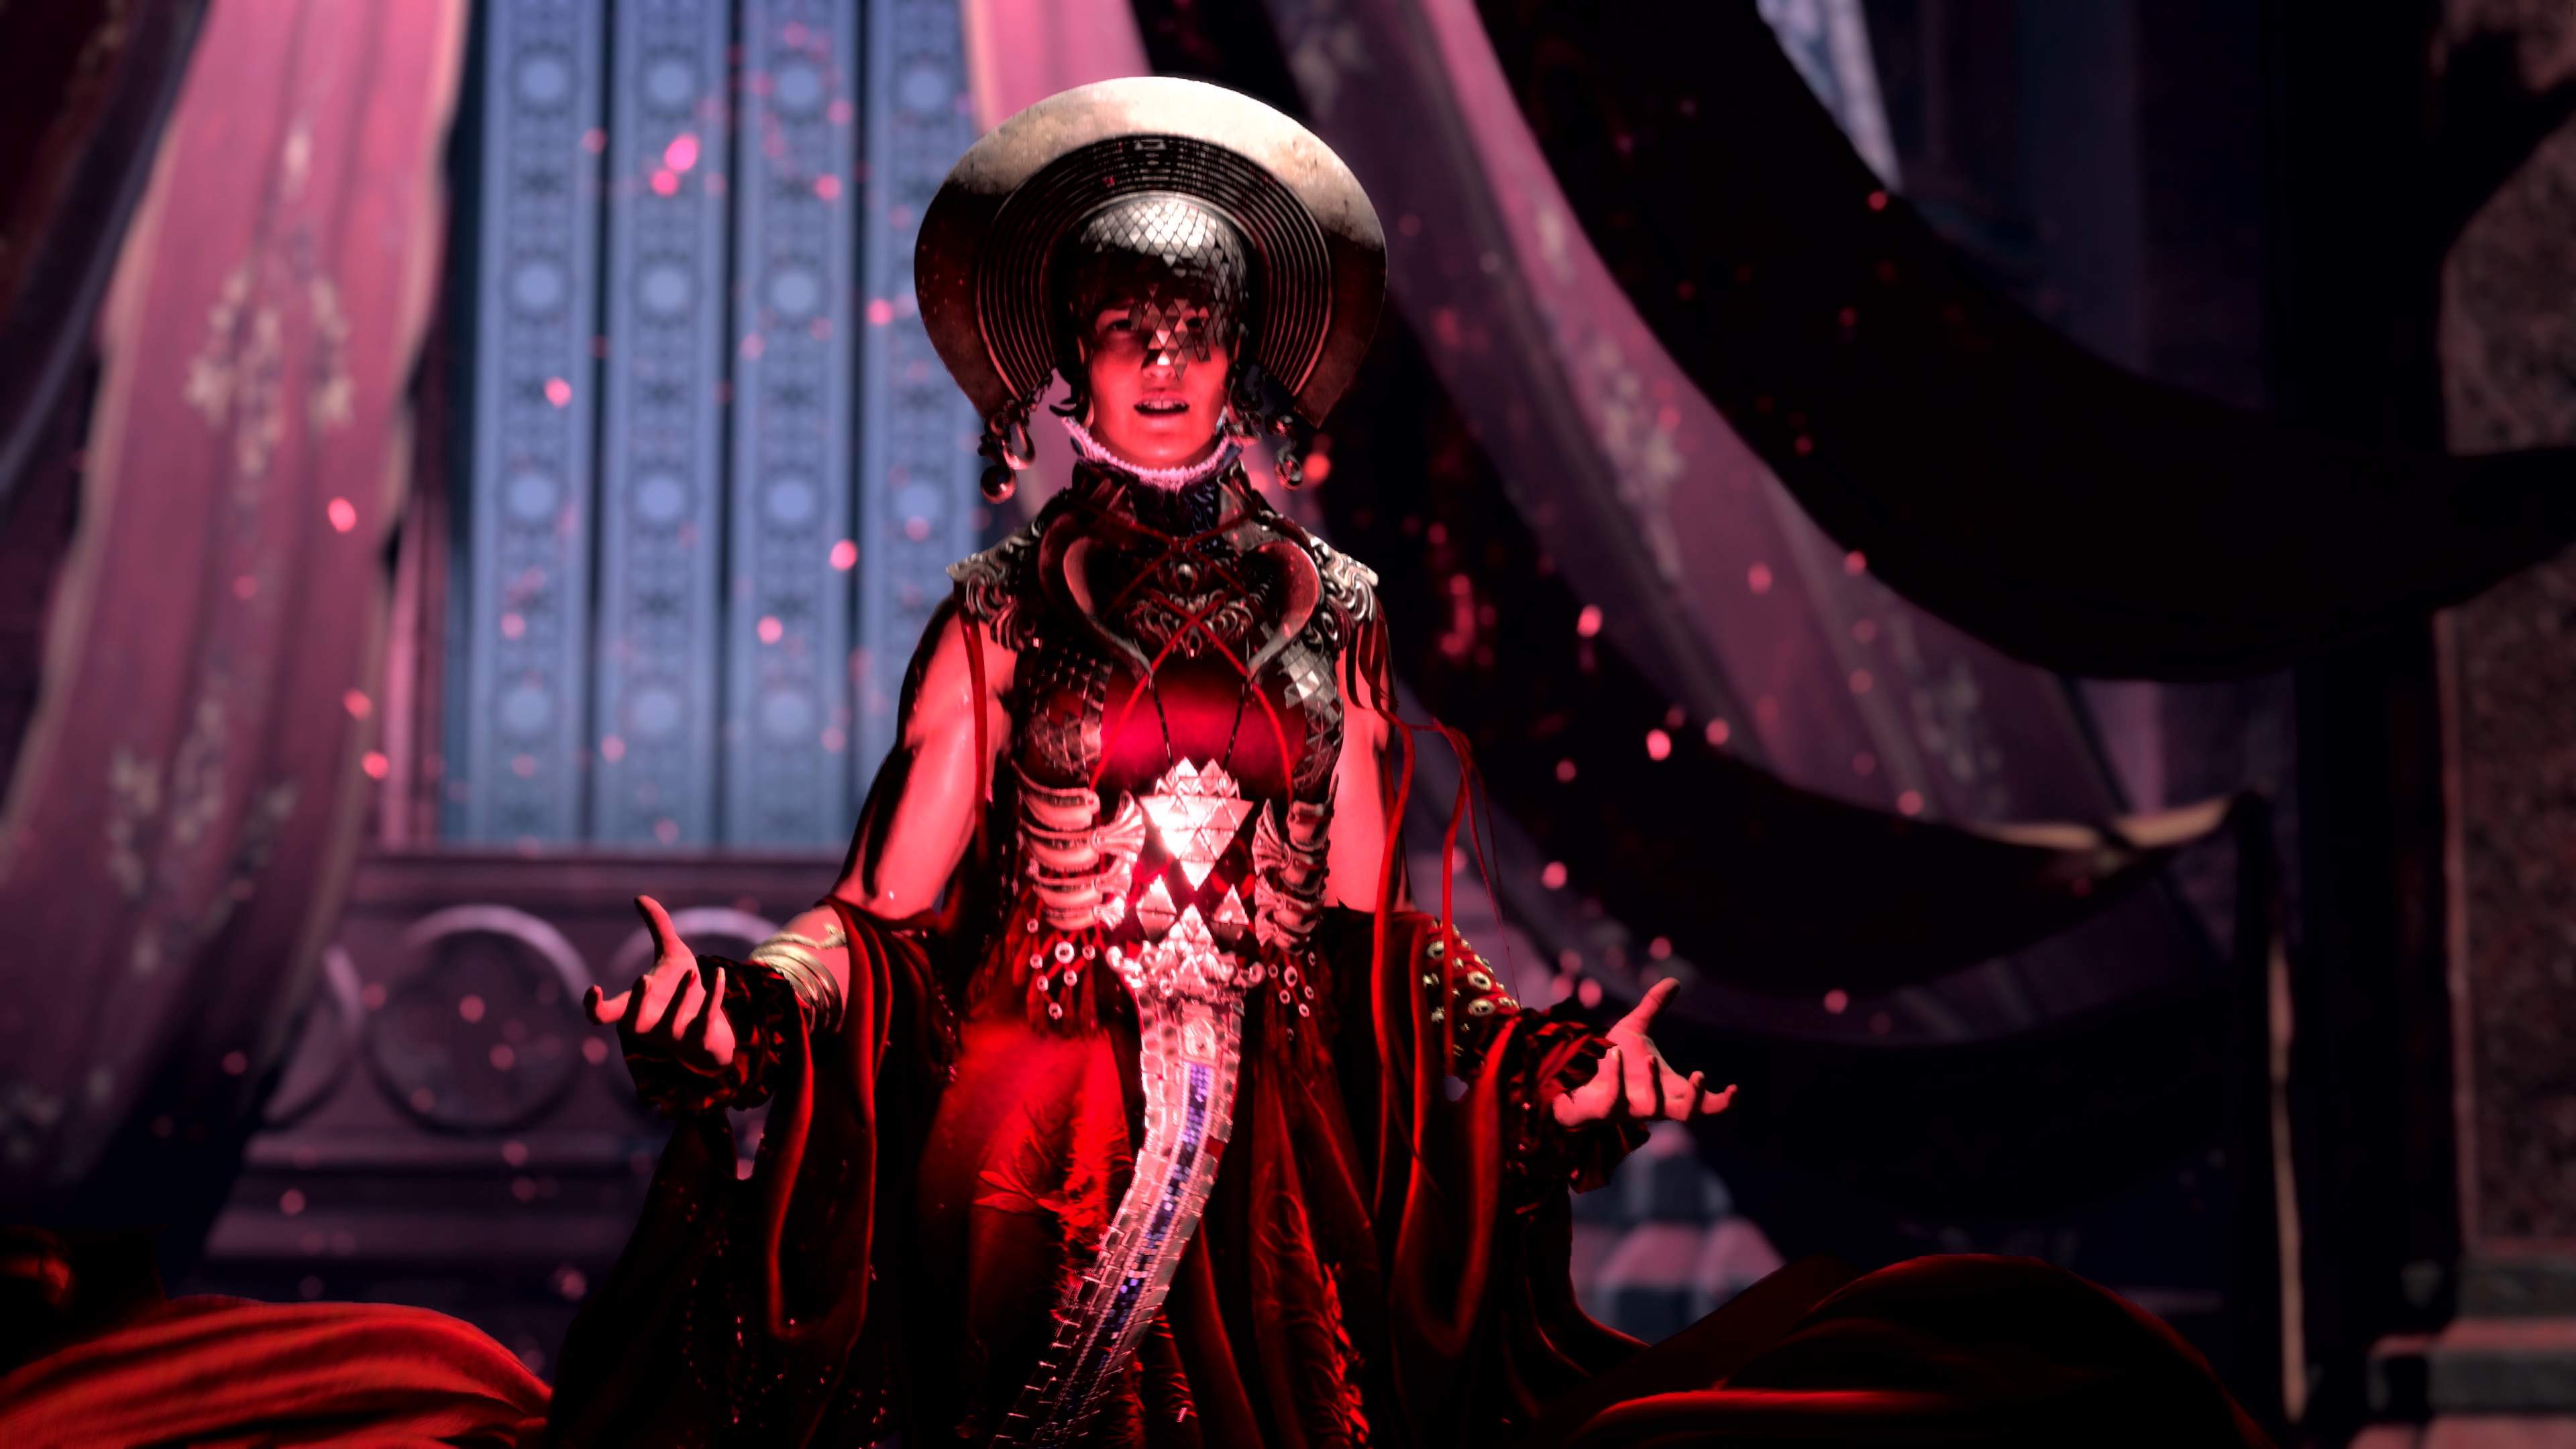
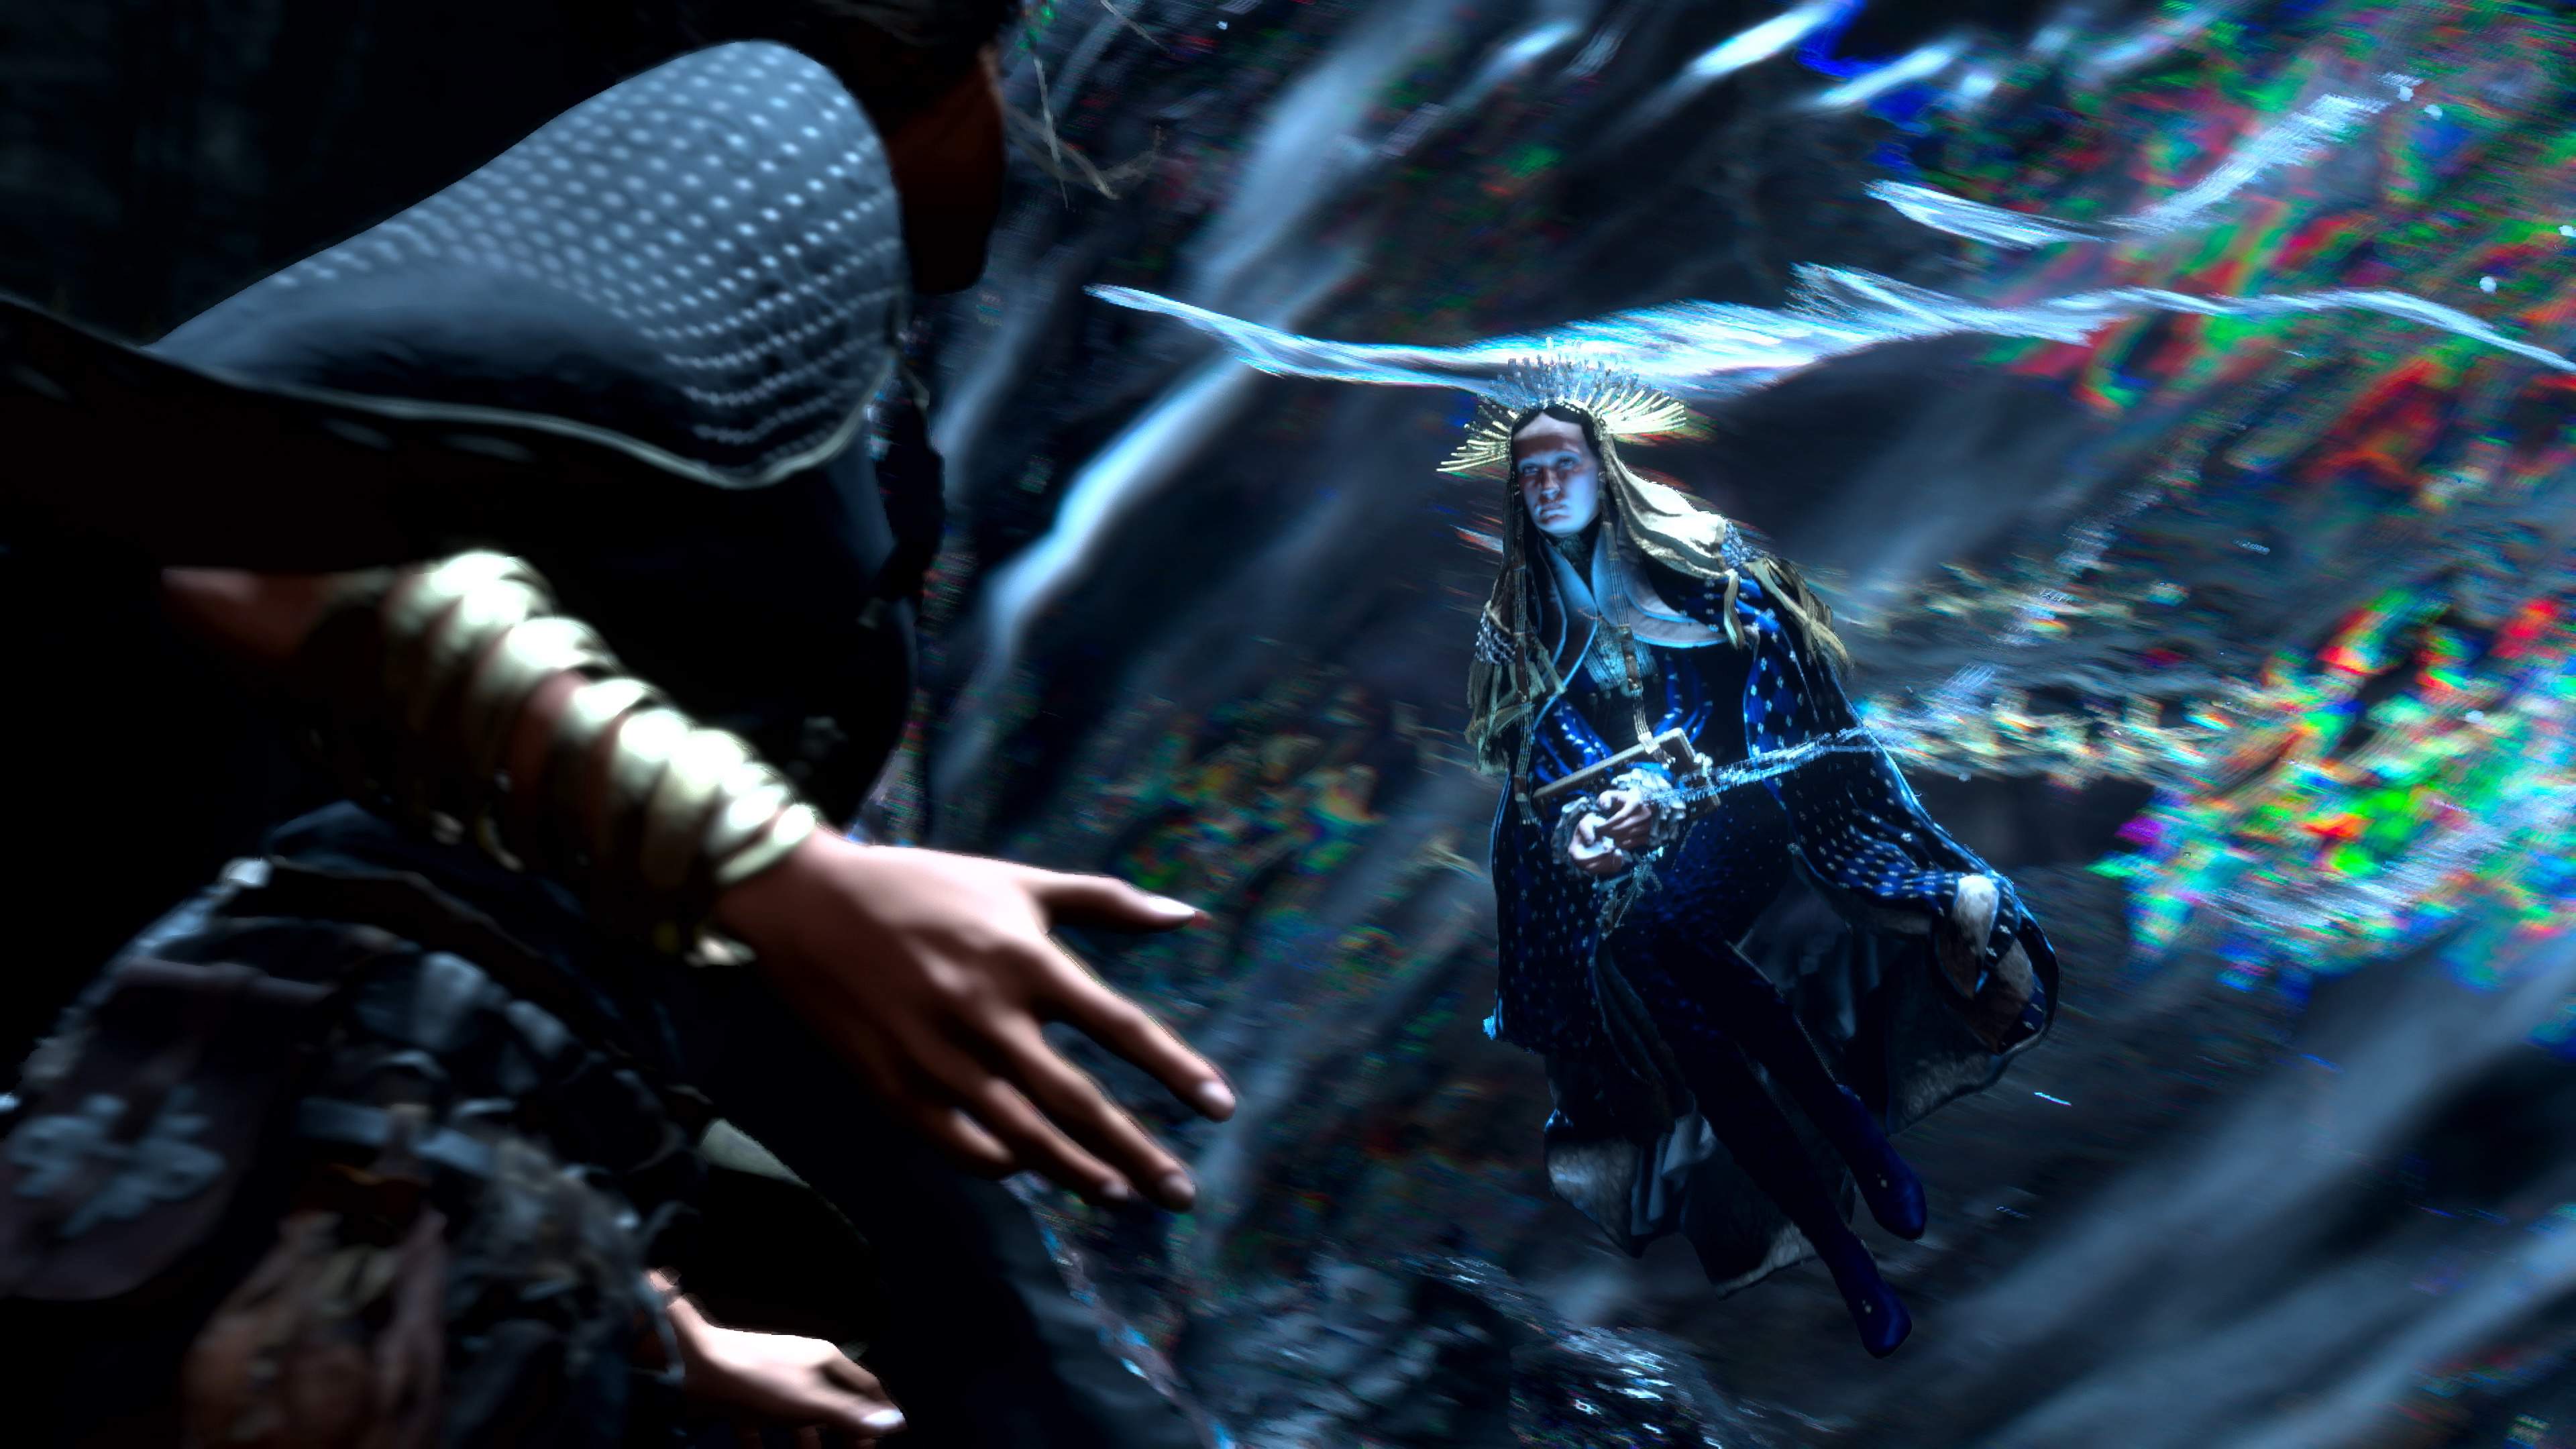
Gameplay Tips: In this official video, Forspoken’s lead actress Ella Balinska reveals new gameplay content showcasing Frey’s high-intensity battle with Tanta Sila, an encounter with a very powerful Breakbeast, and an ominous introduction to a never-before-seen character, Tanta Olas.
Control Tips: As you explore the early game chapters in the mystical land of Athia. The magical attacks in Forspoken may be spectacular, it was the one-on-one battle with Sila, the Tanta of Strength, that made the biggest impression – and the best showcase for Forspoken.
Update: Square Enix has promised that compared to the demo, the full game will have increased text size, button mapping and will fix the HDR issues.
[Work-In-Progress]
Disclaimer: These are all Forspoken cheats on PS5 & PC found so far. Sadly in modern games cheat codes are often replaced with DLC codes, in which case the best we can do is provide secret unlockables, as well as the handy Forspoken guides listed above to help you with tips and tricks for the game!
Do you know of any Forspoken cheats or unlockables? Let us know in the comments, you’ll get credit for finding out. – Thanks for visiting!