Skip to content
Menu
Menu
Home
News
PC News
Nintendo Switch News
PS5 News
PS4 News
Xbox Series X News
Xbox One News
Mobile News
Mac News
TV News
Cheats
Super Mario Bros. Wonder Cheats
Marvel’s Spider-Man 2 Cheats
Call of Duty: Modern Warfare III 2023 Cheats
Starfield Cheats
Mortal Kombat 1 Cheats
Zelda: Tears of the Kingdom Cheats
Hogwarts Legacy Cheats
Diablo 4 Cheats
EA Sports FC 24 Cheats
Madden NFL 24 Cheats
Baldur’s Gate 3 Cheats
Resident Evil 4 Remake Cheats
Guides
Super Mario Bros. Wonder Collectibles
How To Unlock All Marvel’s Spider-Man 2 Suits
Call of Duty: Modern Warfare III 2023 Collectibles
Alan Wake 2 Collectibles
Starfield Vendor Shop Locations Guide
How To Unlock All Mortal Kombat 1 Characters
Assassin’s Creed Mirage Collectibles
Zelda: Tears of the Kingdom How To Repair & Upgrade Weapons
Hogwarts Legacy Collectibles
Diablo 4 Where To Find The Secret Cow Level
Baldur’s Gate 3 Companions Locations Guide
Resident Evil 4 Remake Collectibles
Videos
Super Mario Bros. Wonder: The Movie
Marvel’s Spider-Man 2: The Movie
Call of Duty: Modern Warfare III 2023: The Movie
Alan Wake 2: The Movie
Starfield: The Movie
Mortal Kombat 1: The Movie
Assassin’s Creed Mirage: The Movie
Zelda: Tears of the Kingdom: The Movie
Hogwarts Legacy: The Movie
Diablo 4: The Movie
Resident Evil 4 Remake: The Movie
Features
Walkthroughs
Wallpapers
Music
Interviews
Screenshots
Reviews
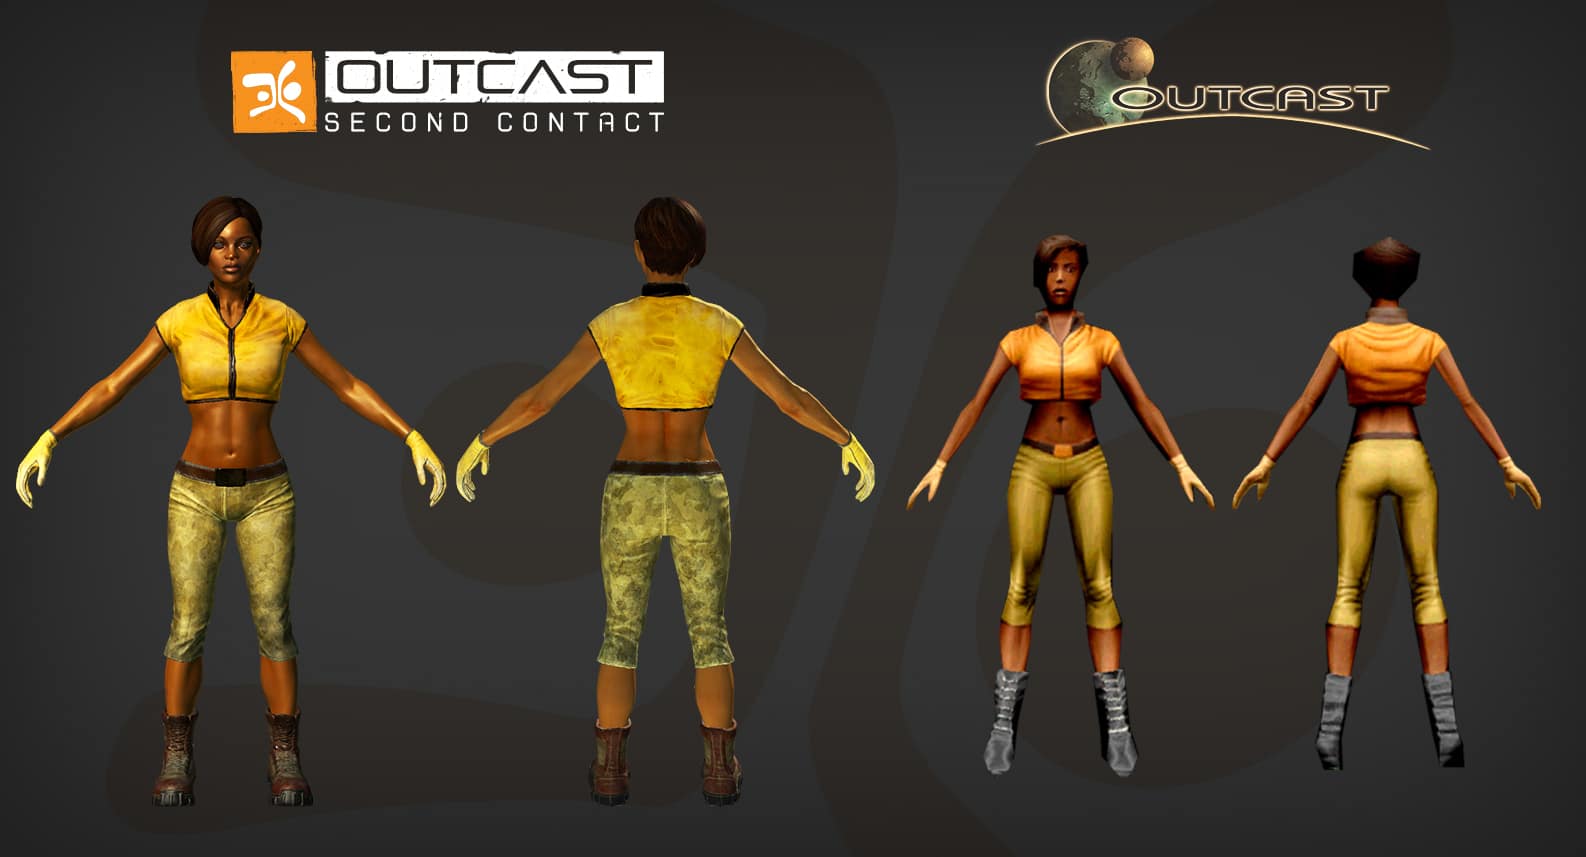
Outcast: Second Contact Image 3
Search for: