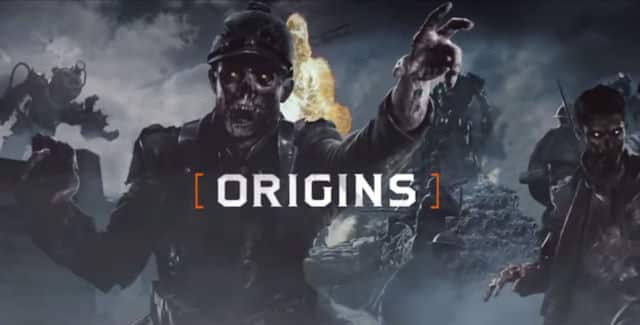
Here’s the Call of Duty: Black Ops 2 Apocalypse Origins Guide for the new Call of Duty: Black Ops 2 Apocalypse DLC Zombies Map on Xbox 360, PS3, PC & Wii U.
In Call of Duty: Black Ops II Apocalypse players are transported to a Dieselpunk-themed First World War, where they will encounter the return of the four original characters from the very first Zombies map!
Index of Black Ops 2 Apocalypse Guides:
- This Page: Black Ops 2 Apocalypse Origins Guide
- Next Page: Black Ops 2 Apocalypse Achievements Guide
- Next Page: Black Ops 2 Apocalypse Easter Eggs
- Next Page: Black Ops 2 Apocalypse Cheats
- Next Page: Black Ops 2 Apocalypse Walkthrough
- Next Page: Black Ops 2 Apocalypse Weapons Guide
- Next Page: Black Ops 2 Apocalypse Perks Locations Guide
- Next Page: Black Ops 2 Apocalypse Audio Logs Locations Guide
- Next Page: Black Ops 2 Apocalypse Glitches
Black Ops 2 Origins Guide
This is a full guide to complete the Origins zombies map.
Armed with an arsenal that includes Wonder Weapons that harness supernatural powers, a diesel-drone and Mark IV tank, as well a new perk machine and power-ups, our heroes will be challenged to fend off the zombie horde.
Here’s how to get started in Origins:
Let’s begin by showing you how to turn on the power in Origins, and where to find all Buildables and Chests.
Next, what’s shown is the part missing from the above Origins introduction:
How to build the Maxis Quadrotor in Origins.
Then you’re shown all Perk locations on Origins. The Perks are: Juggernog, Speed Cola, and Random Perk Machines (Quick Revive, Stamina Up).
Not shown is the Mule Kick Perk, which can be found under the Pack-A-Punch Machine.
Another good tip is knowing how to build the Zombie Shield and where the Shield parts are.
Here’s how to get extra points in round 1 to open up more doors, if you’re playing solo.
Here are all the steps to take to finish the Origins puzzle:
These next videos give a step-by-step playthrough of the sequence of events you’ll need to complete to finish the puzzle.
STEP 0: Here’s a full guide to craft all 4 Staffs with 3 building part locations for each; the blue Ice Staff, the orange Fire Staff, the purple Lighting Staff, and the yellow Wind Staff.
STEP 1: Completing all 4 Ultimate Staffs is the main objective in step 1.
It begins by solving the secret wall symbols code, freezing & shooting the 3 tombstones that appear outside afterwards. After that go to the digg site (where you first crafted the staff) and match the colors up with that of the staff you’re holding, once done shoot the bottom of the orb you aligned the colors of, and place the staff you’re holding into its own colored pedestal where you originally got the staff’s color stone from; repeat this process for all 4 staffs. After that electric zombies will appear and the staff wielder should shoot them to collect their orbs to light up the fire boxes.
The Ultimate Staff Code: This is an explanation of the decoder code shown in the corner of the below video. The circle symbols on the left of the = are on the tiles; The triangles & line symbols on the right of the = are on the ceiling. So whatever shows up on the tile, shoot it with the same colored Staff on the ceiling in the indicated order.
You can watch the video for the rest of the info on how to create the 4 Ultimate Staffs, the guide works better with visual cues.
STEP 2: Up next, placing the Staffs in the Giant Robots!
STEP 3 & 4: The next two steps are aimed at breaking the seal completely.
Requires: A Napalm Monkey to break open the concrete; And the Maxis Drone to be released into the newly created hole. – Check the Weapons Guide to find out where to get both.
Note: The buttons mentioned at the start of the video guide are located inside the giant robots.
STEP 5, 6, 7 & 8: These are the final steps to take that go towards releasing Samantha!
When the final step has been completed, throw the Maxis Drone into the portal to get the ending cinematic.
The End?
Big thanks to Smith, Mr. T & MrChampbaileys24 for the discoveries!
Have you been able to complete Black Ops 2 Apocalypse’s Origins?

