
Count Dooku
Chapter 1: Battle of Geonosis
The attempt to thwart the Separatist plot to overthrow the Republic continues. Vast core ships have been discovered deep in the Geonosian Desert.
A few bold Jedi and their clone army muster for battle against apparently overwhelming Separatist forces…
The Ground Battles Detailed.
* Massive Battles: Ground Battles is an exciting new feature which brings the massive battles fans know and love from the films and animated series to the world of videogames.
* Live The Fights: Taken from fan-favorite moments, players prove their worthiness as they fight to win for themselves.
* Control Your Army: As your troops march out to battle, a few simple button presses place entire brigades under your control.
* Strategic Warfare: Those who fly into battle with their blasters firing are not certain to achieve victory. A good General will spend time to discover the weakness of the enemy, and use it to his advantage.
* Huge Weapons: Not content with a simple speederbike, these armies have taken control of huge cannons, walkers, and more in their quest for absolute victory – and all can be controlled and wielded as you see fit.
It will be a good idea to head on over and jump into a tank, they are great to take the buildings out. You will be able to take damage in this tank, if you acquire too much damage in the tank you will be kicked out of the tank and have to find a new one to jump into.
You will need to aim at the power in the middle of the buildings, if you find that the buildings have a protected layer around them you will need to destroy the unit that is protecting the building.
Whilst you are in a speeder, fly over the Photon torpedoes to collect them, you will then be able to use them to destroy your targets.
When you have made it into the protection steel, you will not be able to get shot by your enemies!
Chapter 2: Gungan General
Anakin and Obi-Wan are held prisoner by the infamous Hondo and his band of space pirates on the planet of Florrum.
The Senate and Jedi High Council meet to decide who they should send to negotiate the Jedi’s release – but the devious pirates have been making plans of their own.
First you will need to use the torpedoes once again to destroy the supporting towers.
You will be able to use one of the elephants to storm into an enemy that has a space ship.
In this level you will need to take down the three power towers, it is a lot easier to use the ships to bring these towers down. Once you have got your ship, you will need to head over to the torpedoes. Once your torpedo is attached head on over to one of the three towers and fire!!
Once you ship starts to beep when your inside it, you will need to jump onto it and find yourself a new ship.
Chapter 3: Jedi Crash
Count Dooku’s war against the Republic is waged on the many fronts.
A fleet led by Aayla Secura is under heavy attack from Separatist Munificent-class frigates, and the Republic’s flagship is in damager of being over-run by the enemy.
Fortunately two Jedi heroes are not far behind…
In this level, you will be in control of a space ship.
Head on over to the landing station, once you have landed in the station you will need to head on over to the water station.
Using your force on the droid, you will be able to use the droid as a gun! He will automatically fire once you have picked him up using the force.
You will need to activate the three water sprinklers on the three separate platforms.
The first switch you need to activate is located behind the shattered glass. To get to this switch you will need to jump across a platform.
Once you have activated the first switch, have a look around the landing station for any stud! Remember you can’t buy anything if you don’t have any studs. When you have got the studs you need, head on over to your ship and go to the next landing station.
The next landing station is directly above the first landing station.
The next switch to activate is located on the lower platform. You will need to cut the wall that has the blue Jedi symbol located on the floor.
This is where your second switch is located.
Head on over to your ship and go to the next landing station.
Once you have landed in the station, have a look round and grab yourself some extra studs.
You will be able to see a checked pattern on the floor, you will need to make your way to the upper level. Follow the pattern on the upper levels floor to located the next switch.
Once you have completed the switch task, you will then be faced with taking down nine droids.
Have a shoot around to get your hands on any extra studs.
Once you have had a look around head on over to your ship. You will need to watch out for the enemy bullets.
You will then see a blue arrow located on one of the mother ship. This will take you to the end of this level.
Chapter 4: Defenders of The Peace
Thanks to the daring intervention of Anakin and Ahsoka, Aayla Secura has been safely reunited with her Republic’s allies.
But even as they find some little time to rest and prepare for the next stage of the galaxy-wide conflict, the Jedi know that Separatist forces, masterminded by the devious Count Dooku, can confront them at any time….
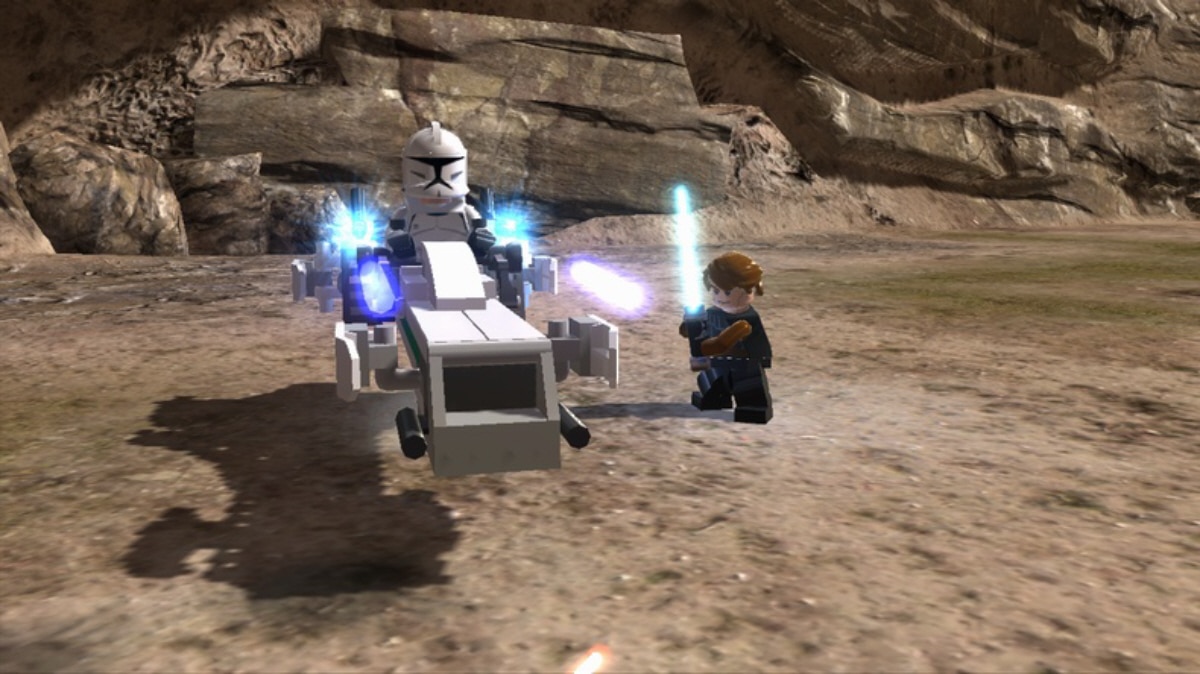
This is the first level where we will encounter our first battle, we will be able to blow everything up!
You will first need to build a speeder, it is a great idea to use the speeder as you will be able to get your hands on some extra studs.
You will need to build your bases before the battle has started.
Have a look around for some blue studs if you need a bit of extra cash.
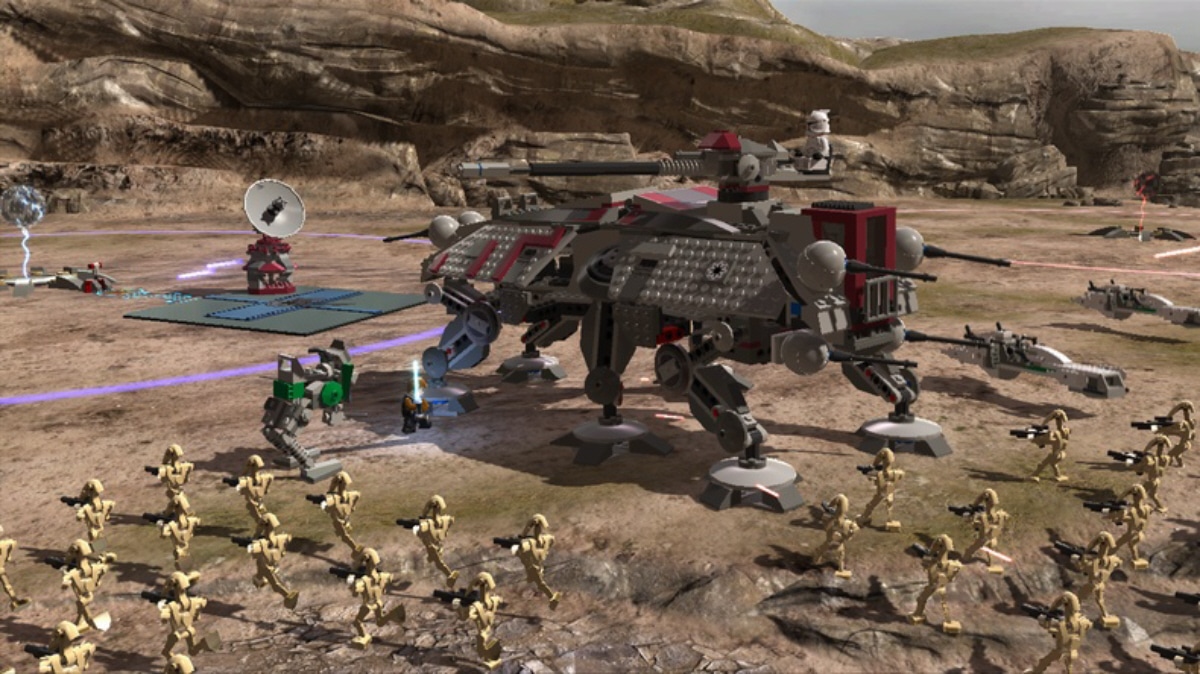
Use your speeder to take out the droid’s and other enemies.
You will need to head on over and take down the enemies buildings. Once you have done that place on of your buildings in the area so you won’t be out numbered.
If you run out of money, jump back into your speeder and have a look around for some blue studs.
Take out any enemy vehicles that are located round the area.
You will also need to assign your troops to target the enemies objects.
To complete this level, you will need to destroy the Ray Shield Protectors.
Chapter 5: Weapons Factory
The immense weapons factory masterminded by Count Dooku’s henchman,Geonosian warlord Poggle the Lesser, nears completion. It threatens to unleash huge armies of battle droids and secret weapons to sway the balance of the Clone Wars.
Jedi Knight Anakin Skywalker and his Pandawan Ahsoka are joined by Jedi Master Luminara Unduli with her Pandawan Barriss Offee, to lead a Republic attack on the factory…
As Rob has said this is a pretty long level, it will take your around 25-30 minutes.
Use your speeder to have a ride around shooting everything to get as many studs as you can collect.
Take your speeder over to the enemy location, here you will be faced with droids. You will need to use the speeder and your lightsaber to take out the large red building.
Once you have done that, you will need to go over and capture the base, you will need to destroy all the buildings in the surrounding area to capture the base.
Once you have taken over the base, you will then be able to build a variety of different units.
The more bases you control the larger the units you will have access too.
Lego Star Wars 3 Walkthrough – Weapons Factory Part 2
This part of the level is pretty simple. You basically need to blow everything up!
Go over and get yourself a tank as they have the most damage.
Once the cutscene is over, you will then be on foot. You will need to cut through the wall in front of you. This will take you down a corridor that is filled with studs.
Make sure you collect as many studs as possible.
To get rid of the large silver rock looking objects, you will need to use an explosive on them.
Using your force you will need to remove three of the triangles on the right large triangle. Take the three smaller triangles and place them on the left larger triangle. This will open a door. Use your lightsaber to destroy anything and everything around you to collect those studs.
You will need to cut into the wall, this will reveal a triangle piece. Place the rest of the smaller triangles onto the large left triangle. Another one of the triangles is hanging in what looks like a grey net.
In the next section you will have a couple enemies to destroy.
Once you have destroyed the enemies, head towards the light! And jump. This will end the level.
Lego Star Wars 3 Walkthrough – Weapons Factory Part 3
Have a look to the top left, head on over and go grab it. It will be a good idea to get it as the tank will be trying to attack you.
Head on over to the button, you will need to activate this button switch, this will activate part of larger tank.
You will need to activate the five points around the arena to activate the central core.
The green tanks have three flashing points on it, use your lightsaber to attack it. Two of the points are located around the bottom of the tank and one is located at the top. You will be able to see all three of these as they are flashing blue.
Once you have activated these five points, you will be able to take over the tank. You will be able to use the tank to destroy the central core devise you will have completed this level.
Chapter 6: Legacy of Terror
Following a tremendous victory on Geonosis, Jedi Master Obi-Wan Kenobi and Luminara Unduli have been charged with the task of capturing Separatist leader Piggle the Lesser.
Their quarry has taken Luminara keep into the desert…
First thing have a look around, smash up some Lego rocks and Blocks to collect those all important studs.
Change over to a clone trooper and take out the gold rocks. Switch back to being a Jedi and use the side panels to jump up to the upper levels. You will have a small building mission when you get to the top but it’s nothing tricky.
You will see some coloured blocks, use your force to place them in an order you will be able to climb the top. Using your Clone Trooper you will be able to use the grapple.
Make your way through the newly opened door, collected studs as you go. You will need to break apart some Lego rocks to allow you to follow the path. Remember the more studs you have the better. You want to get the True Jedi.
Make your way to the end of the cave, there will be a Jedi cut out area, this will allow you to proceed to the end of the cave.
You will need to complete the purple statue, this will open an opening in the floor. You will need to jump down.
Once you land, you will need to take out a couple of enemies. You will need to pull down the two pillars located in the area. Use the grapple points to do so. This will open an escape route for you to exit through.
You will need to use your force to move some more bricks out of the way, this will lead you to the boss battle.
You will need to use the eggs to make a ledge, you will need to use the force to attach it to the wall located on the right side.
Once you are on the upper level you will be able to collapse your first pillar.
Once you have completed the ledge, you will need to head on over to the rocks that are piled up, the bug will start throwing explosives at you. Make sure you aim these at the rocks. Once she has landed three bombs near the rocks you will be able to use your Jedi powers to climb up the sides of the walls.
This will lead you to the spot where you are able to collapse the second pillar.