
Our Zelda: Ocarina of Time 3DS walkthrough will guide you through The Legend of Zelda: Ocarina of Time from the beginning to ending moments of cutscenes and gameplay for this N64 classic reborn in stereoscopic 3D.
The Legend of Zelda: Ocarina of Time 3D takes the Nintendo 64 classic – one of the most critically acclaimed games ever made – and returns it to the Nintendo 3DS system with the added depth and realism of stunning, glasses-free 3D visuals. A complete graphical overhaul, plus new game control using the unique features of the Nintendo 3DS system, makes this an exciting adventure to be enjoyed by long-time fans and new players alike. In this game, Link sets off on a legendary journey through time to stop Ganondorf, the Gerudo King of Thieves who is seeking the Triforce, a holy relic that gives its holder ultimate power. The graphical upgrades and three-dimensional depth breath new life into the expansive world of Hyrule. An improved and intuitive interface, coupled with easier navigation offered by playing in a world with 3D visuals, give players better control as they solve puzzles, travel through time and explore this immersive world. Whether you’re a first-time player or a regular visitor to Hyrule, The Legend of Zelda: Ocarina of Time 3D is a new adventure for everyone.
Table of Contents
- 3DS Version Pro Tips
- Part 1 – Intro and Kokori Forest
- Part 2 – Inside the Great Deku Tree
- Part 3 – Queen Ghoma Boss Battle
- Part 4 – Hyrule Field, Market and Sneaking Into Hyrule Castle
- Part 5 – Zelda’s Lullaby and Kakariko Village
- Part 6 – Sun’s Song In the Royal Family’s Tomb at the Graveyard
- Part 7 – Sacred Forest Meadow and Saria’s Song
- Part 8 – Darunia, Goron’s Bracelet and Dodongo’s Cavern
- Part 9 – King Dodongo and the Goron’s Ruby Spiritual Stone #1
- Part 10 – Great Fairy Fountains and Dampe the Gravekeeper
- Part 11 – Zora’s Domain, Ruto’s Letter and Bombchu Bowling
- Part 12 – Fishing and Entering Jabu Jabu’s Belly
3DS PRO TIPS
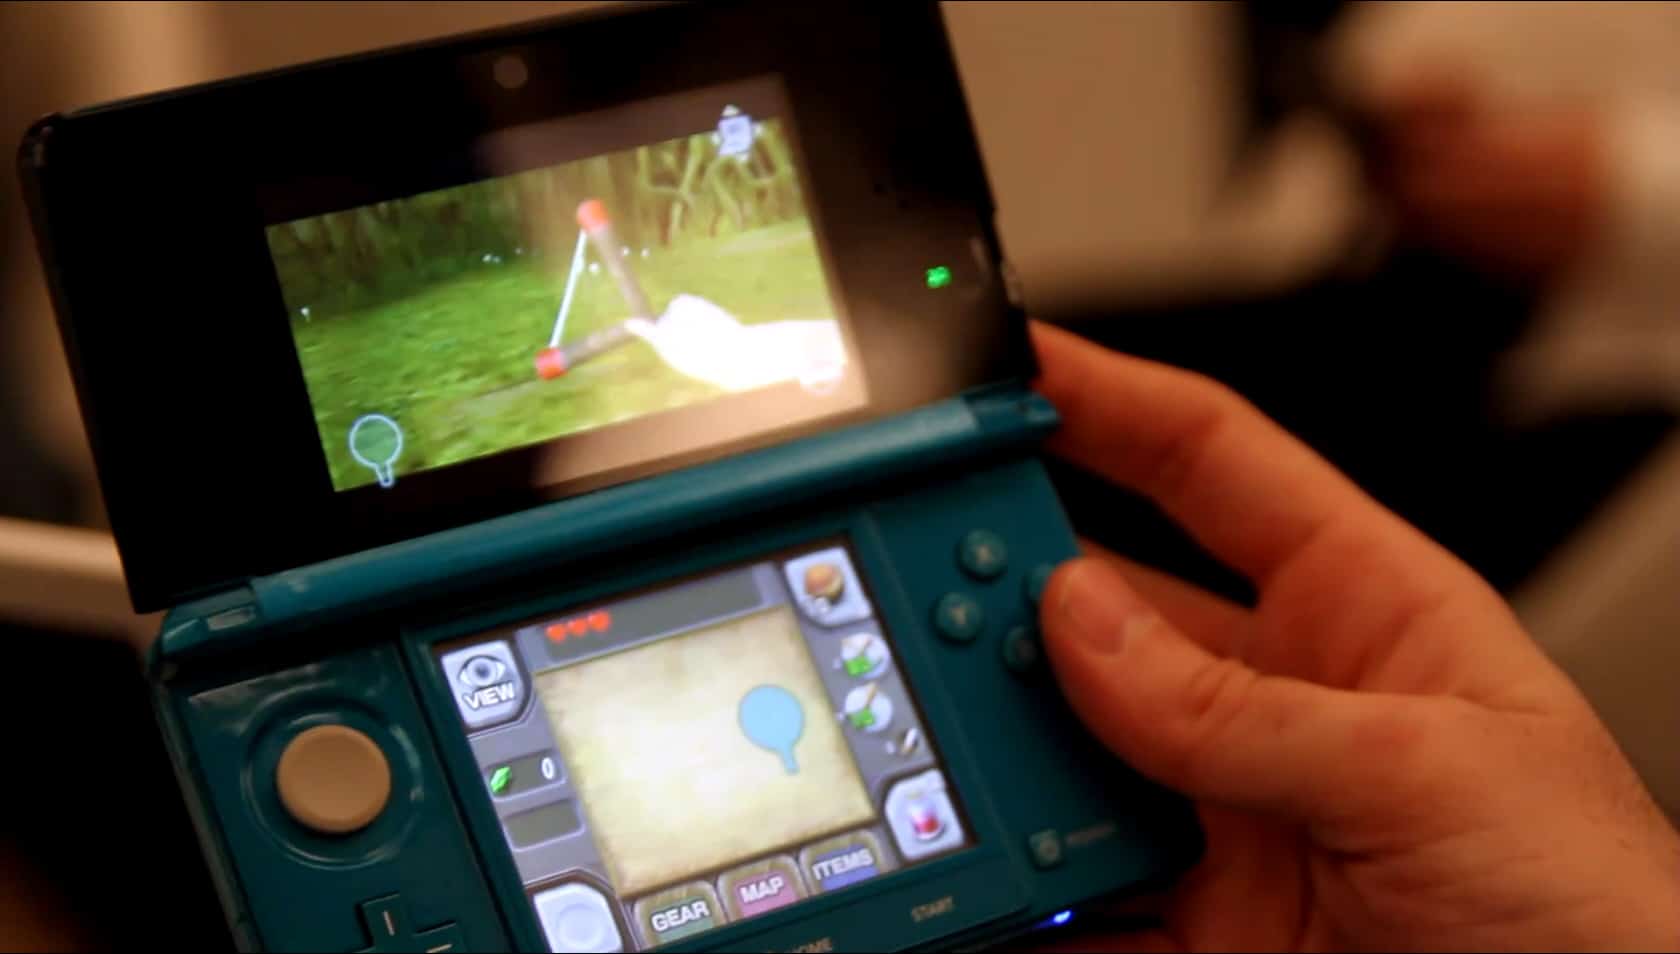
Streamlined Touchscreen Menu Navigation:
One of the new updates to this N64 classic is the relegation of the previous sub-screen triptych system (or is that quadtych?) to the touch-screen. The menu system has been completely replaced; No longer do you need to press Start, and then navigate to the Equipment Subscreen to switch Tunics or Boots. Now, simply tap the touchscreen buttons for Gear, Map, or Items, and you can quickly and easily change equipment, set your items to FOUR new face button presses (instead of three like in the N64 version), view your Quest Items or view your Overworld or Dungeon Maps. This major improvement completely streamlines the process and makes navigating your way through the Water Temple less frustrating and time-consuming, as you can now focus your attention on solving the puzzles, battling enemies and navigating the environment, instead of waiting for the subscreens to load and annoyingly having to switch between multiple screens simply to change equipment or set items.
First-Person Viewing via Gyroscope:
Another neat new feature for the 3DS version of Ocarina of Time comes from entering the first-person viewpoint. Whether you just want to look around the environment or you are aiming with the Slingshot or Bow and Arrow, you can now look around in first-person by moving the actual 3DS system itself. Due to the gyroscope built-in to the 3DS, your real-life motion translates to which direction Link will look. Of course, if you are an old-schooler and don’t want any of the motion-sensing nonsense, then you can look around using the Circle Pad analog stick instead
Graphical Face-lift:
Ocarina of Time not only is in complete stereoscopic 3D, but the game has been given a graphical polish and new sheen to make everything prettier to look at and more snazzier to view in 3D. Carefully take in your environments, you might just notice some new details added to the old worlds.
Unobstructed View of Game World:
Your view of the action is no longer obstructed in any way, shape or form on the 3DS. All icons including your Energy Hearts and Item Button icons have all been moved to the touchscreen, allowing you to more easily see what would’ve been technically obscured in the N64, Wii Virtual Console or GameCube versions.
L-Trigger Lock-On:
What was the Z Button for “Z-Targeting” is now the L-Button to lock-on and target your enemies. Remember to use this to easily focus your attacks on a specific enemy. Press the Button again to switch between the enemies and hold and press Back on the stick to break from lock. While Locking you can also backflip by pressing Back+Action Button, hop side to side by pressing Left or Right and the Action Button, or do a lunge attack by pressing forward+Sword Swing. If you have your sword put away, you can press Forward+Action to roll at the enemy.
Ocarina of Time 3DS walkthrough Part 1 – Intro and Kokori Forest
Ocarina of Time 3DS walkthrough Part 2 – Inside the Great Deku Tree
Ocarina of Time 3DS walkthrough Part 3 – Queen Ghoma Boss Battle
Ocarina of Time 3DS walkthrough Part 4 – Hyrule Field, Market and Sneaking Into Hyrule Castle
Ocarina of Time 3DS walkthrough Part 5 – Zelda’s Lullaby and Kakariko Village
Ocarina of Time 3DS walkthrough Part 6 – Sun’s Song In the Royal Family’s Tomb at the Graveyard
Ocarina of Time 3DS walkthrough Part 7 – Sacred Forest Meadow and Saria’s Song
Ocarina of Time 3DS walkthrough Part 8 – Darunia, Goron’s Bracelet and Dodongo’s Cavern
Ocarina of Time 3DS walkthrough Part 9 – King Dodongo and the Goron’s Ruby Spiritual Stone #1
Ocarina of Time 3DS walkthrough Part 10 – Great Fairy Fountains and Dampe the Gravekeeper
Ocarina of Time 3DS walkthrough Part 11 – Zora’s Domain, Ruto’s Letter and Bombchu Bowling
Ocarina of Time 3DS walkthrough Part 12 – Fishing and Entering Jabu Jabu’s Belly
More videos coming soon.
Thanks to Jakeiiiiblade for the videos.