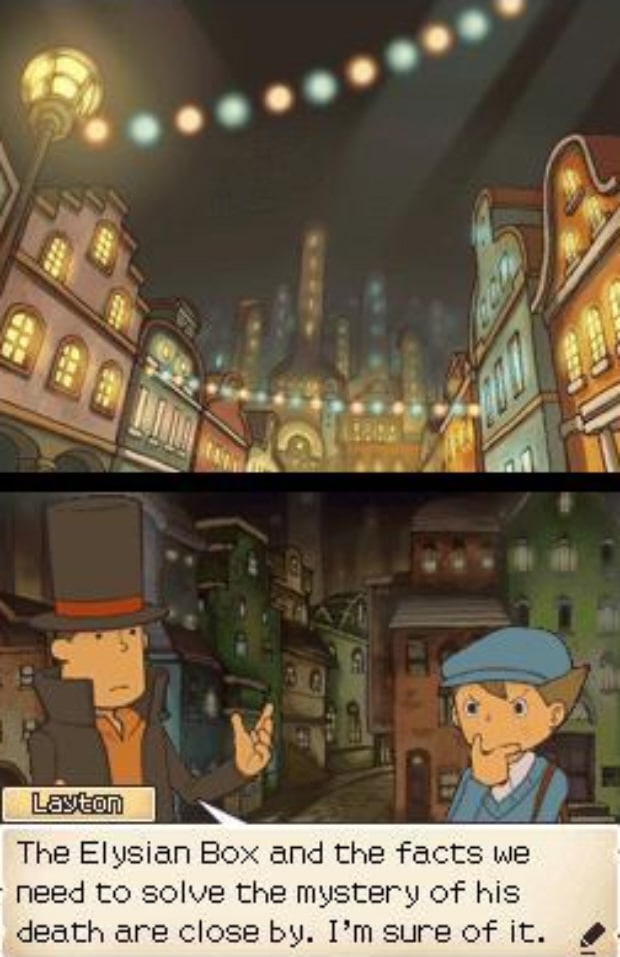
Looking for a walkthrough on Professor Layton and the Diabolical Box? Below you’ll find out how to solve all of the puzzles for the correct answers, as you make your way from the beginning to the end of the second game in the Professor Layton series.
Professor Layton 2 Walkthrough 01: Dr Schrader’s Letter
Professor Layton 2 Walkthrough 02: Dr. Schrader
Professor Layton 2 Walkthrough 03: Meeting again, for the first time
Professor Layton 2 Walkthrough 04: The Molentary Express
Professor Layton 2 Walkthrough 05: Hamster!
Professor Layton 2 Walkthrough 06: Mr. Beluga
Professor Layton 2 Walkthrough 07: Lost Child
Professor Layton 2 Walkthrough 08: Searching for Tom
Professor Layton 2 Walkthrough 09: The Truth about Tom
Professor Layton 2 Walkthrough 10: Grousley
Professor Layton 2 Walkthrough 11: Flora
Professor Layton 2 Walkthrough 12: Lurking in the Shadows
Professor Layton 2 Walkthrough 13: Do not speak of it
Professor Layton 2 Walkthrough 14: Tea Set
Professor Layton 2 Walkthrough 15: Investigating Town
Professor Layton 2 Walkthrough 16: Family Matters
Professor Layton 2 Walkthrough 17: More Puzzles in Dropstone
Professor Layton 2 Walkthrough 18: The Livestock Competition
Professor Layton 2 Walkthrough 19: Mr. Anderson
Professor Layton 2 Walkthrough 20: Departure
Professor Layton 2 Walkthrough 21: The Mystery of the Molentary Express
Professor Layton 2 Walkthrough 22: The Deluxe Car
Professor Layton 2 Walkthrough 23: The Secret of Dr. Schrader’s Ticket
Professor Layton 2 Walkthrough 24: Arrival in Folsense
Professor Layton 2 Walkthrough 25: The Old Diary
Professor Layton 2 Walkthrough 26: Camera Repair
Professor Layton 2 Walkthrough 27: Legend of the Vampire
Professor Layton 2 Walkthrough 28: Slow Going
Professor Layton 2 Walkthrough 29: Ballos, the Champion Hamster!
Professor Layton 2 Walkthrough 30: Chelmey’s Blunder
Professor Layton 2 Walkthrough 31: Puzzles
Professor Layton 2 Walkthrough 32: Puzzlement
Professor Layton 2 Walkthrough 33: Puppy Chow
Professor Layton 2 Walkthrough 34: The Search Begins
Professor Layton 2 Walkthrough 35: The Last Alley Scraps
Professor Layton 2 Walkthrough 36: The Search Continues
Professor Layton 2 Walkthrough 37: The Final Photo Scrap
Professor Layton 2 Walkthrough 38: Inspector Chelmey’s Allegation
Professor Layton 2 Walkthrough 39: Truth
Professor Layton 2 Walkthrough 40: The Elysian Box
Professor Layton 2 Walkthrough 41: Tragedy
Professor Layton 2 Walkthrough 42: The Old Diary’s Owner
Professor Layton 2 Walkthrough 43: Puzzling
Professor Layton 2 Walkthroughh 44: Ultimate Hamster Workout (not really)
Professor Layton 2 Walkthrough 45: Tea Time
Professor Layton 2 Walkthrough 46: The Tea Side Quest, Part I
Professor Layton 2 Walkthrough 47: The Tea Side Quest, Part II
Professor Layton 2 Walkthrough 48: The Tea Side Quest, Part III
Professor Layton 2 Walkthrough 49: The Tea Side Quest, Part IV
Professor Layton 2 Walkthrough 50: The Tea Side Quest, Part V
Professor Layton 2 Walkthrough 51: Enter the Mine
Professor Layton 2 Walkthrough 52: The Secret of the Mine
Professor Layton 2 Walkthrough 53: Journey through the Dark Forest
Professor Layton 2 Walkthrough 54: The Road to Herzen Castle
Professor Layton 2 Walkthrough 55: The Final Destination
Professor Layton 2 Walkthrough 56: Escape from Castle Herzen
Professor Layton 2 Walkthrough 57: Escape from Castle Herzen?
Professor Layton 2 Walkthrough 58: Diary Recap
Professor Layton 2 Walkthrough 59: The Finale, Part I
Professor Layton 2 Walkthrough 60: The Finale, Part II
Professor Layton 2 Walkthrough 61: The Finale, Part III
Thanks to GalufBlackMage for the walkthrough videos.
